Recommended Adhesives for Wall Tiling
When selecting adhesives for wall tiling, it is crucial to consider the specific requirements of your project. Thin-set mortar is a popular choice for most ceramic and porcelain tiles. Its versatility and strong bonding capabilities make it suitable for various wall surfaces. In addition to thin-set, mastic adhesives work well for lightweight tiles in dry areas, offering ease of use and quick adhesion. However, mastic should not be used in wet environments as it may not provide the necessary durability.
Another option is epoxy adhesive, which offers exceptional strength and is resistant to moisture. This makes it ideal for areas prone to humidity, such as bathrooms and kitchens. When executing wall tiling, always ensure that the adhesive used complies with industry standards and is suited for the specific tile material. Evaluating the location and type of tiles will aid in making the most effective choice for a long-lasting installation.
Factors Influencing Adhesive Choice
Several factors influence the choice of adhesive for wall tiling. The type of tiles being used plays a significant role; for instance, heavier tiles may require a thicker, more robust adhesive to ensure they remain securely attached to the wall. Consider the surface material as well. Different wall materials, such as drywall, cement board, or plaster, may necessitate specific adhesives designed to bond effectively with those surfaces.
Environmental conditions also come into play when selecting the appropriate adhesive for wall tiling. Areas with high moisture levels, like bathrooms or kitchens, often require waterproof adhesives to prevent damage over time. Additionally, temperature variations can affect the performance of adhesives. Choosing a product that can withstand fluctuations while maintaining its adhesive properties is crucial for long-lasting results.
Common Mistakes to Avoid
One common mistake in wall tiling is neglecting surface preparation. A clean and even substrate is crucial for achieving a long-lasting finish. Any dirt, grease, or loose material can prevent the adhesive from properly bonding, leading to tiles popping or shifting over time. Additionally, failing to repair any imperfections can result in an uneven surface, which compromises the overall appearance of the tiled wall.
Another frequent oversight involves miscalculating the number of tiles needed for the project. Accurate measurements are essential to avoid running out of tiles mid-project or purchasing excess tiles that may not match in future repairs. It’s also important to account for cuts and waste in the calculation. Proper planning in wall tiling saves time and money, ensuring a smoother installation process.
Ensuring Proper Tile Alignment
Proper alignment is crucial in wall tiling to achieve an aesthetically pleasing result. Mistakes in alignment can lead to uneven surfaces, gaps, and even structural issues over time. Start by ensuring that you have a level surface. Using a laser level or a traditional level can help you check for any discrepancies. Marking a guide line will also assist in maintaining consistent spacing throughout the installation process.
When placing tiles, it is important to take your time. Begin from the centre or a reference line, moving outward to ensure symmetry. Use spacers to maintain even grout lines between tiles, which can further enhance the overall appearance of the finished wall. Regularly stepping back to assess your work will help catch any alignment issues early, allowing for adjustments before the adhesive sets.
Tools Required for Tiling
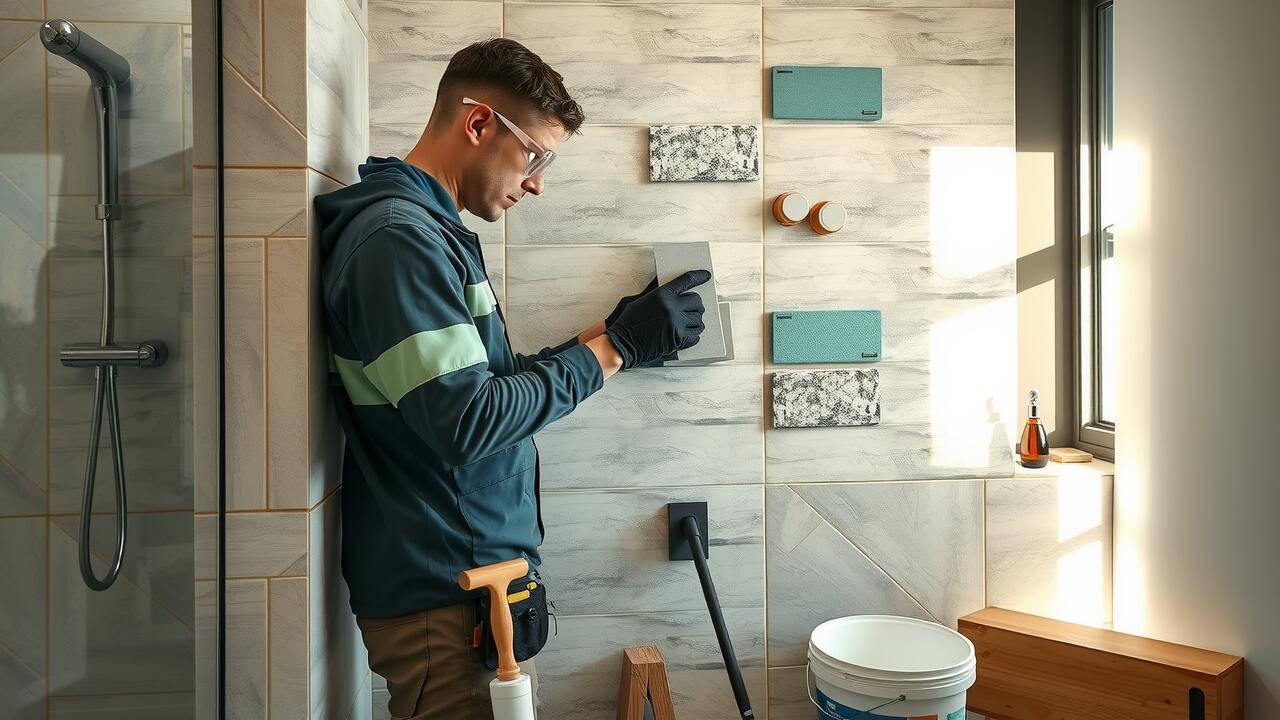
When embarking on a wall tiling project, having the right tools can significantly impact the outcome. Essential tools include a notched trowel for applying adhesive, tile cutters or a wet saw for precise tile shaping, and a level to ensure alignment. Additionally, sponges and buckets are necessary for cleaning surfaces during the installation. A measuring tape and a chalk line can help mark guidelines, ensuring that tiles are laid evenly, without unsightly gaps or misalignment.
To effectively handle different tile materials, investing in a rubber mallet can assist in setting tiles firmly without causing damage. Safety gear, such as gloves and goggles, is also advisable to protect against sharp edges and dust. For those working with large tiles, a tile lift can ease the physical strain, enabling better management during the installation process. Planning ahead with this equipment in hand makes wall tiling a more efficient and successful endeavour.
Essential Equipment Checklist
When preparing for a wall tiling project, having the right tools on hand is essential for achieving quality results. Start with basic items such as a tape measure, a level, and a straightedge. A notched trowel is necessary for applying adhesive evenly, while a tile cutter or wet saw will help you achieve accurate cuts for fitting tiles into corners or along edges. A sponge and bucket for clean-up will also make the process smoother.
In addition to these basic tools, consider including safety equipment in your checklist. A pair of safety goggles will protect your eyes from dust and debris during cutting, and knee pads can provide comfort while you work on the floor for extended periods. Lastly, ensure you have a grout float for applying grout once the tiles are installed. Completing this checklist will set you up for a successful wall tiling experience.
FAQS
Can I tile directly onto drywall?
Tiling directly onto drywall is not recommended, especially in moisture-prone areas like bathrooms. It’s best to use cement backer board or another suitable substrate for better adhesion and durability.
What type of adhesive should I use for wall tiling?
The choice of adhesive depends on the type of tiles and the surface being tiled. Generally, thin-set mortar is ideal for ceramic and porcelain tiles, while mastic is suitable for dry areas.
What are the common mistakes to avoid when tiling a wall?
Some common mistakes include not preparing the surface properly, using the wrong adhesive, skipping the leveling process, and neglecting to allow for grout lines.
How can I ensure my tiles are aligned correctly?
To ensure proper tile alignment, start by using a level and chalk line to create guidelines. Continuously check the alignment as you lay the tiles, and use spacers to maintain even grout lines.
What tools do I need for tiling a wall?
Essential tools for wall tiling include a tile cutter or wet saw, trowel, level, spacers, measuring tape, and a grout float. Having these tools on hand will help ensure a successful tiling project.